Want to achieve that effortless full volume lashes look? National Education Manager Ocea McKenzie shares her expert advice on how to apply false eyelashes - pens at the ready!
From the dramatic and defined to subtle yet statement-making, false eyelashes have the ability to add polish and flair to any beauty look — in fact, they do their job so well, that you often can skip the rest of your eye makeup. When it comes to application, however, it’s often a little trickier than it first appears but just like any new technique, once you perfect it you’ll never look back.
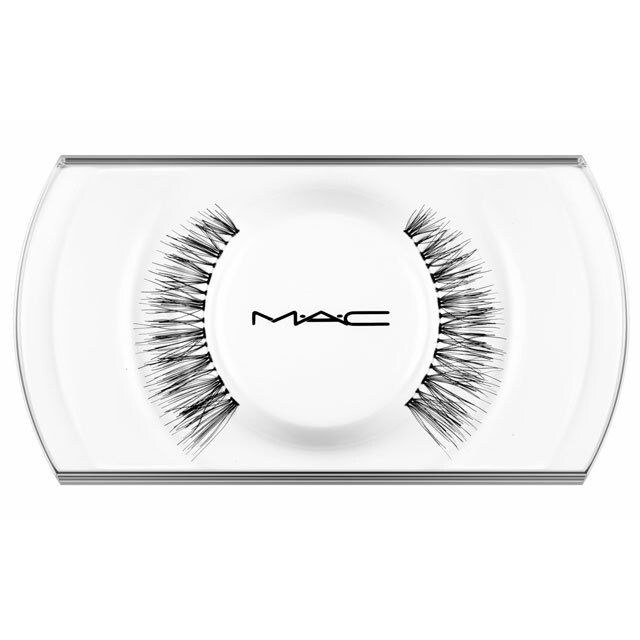
STEP 1: FIND THE BEST GLAM OR NATURAL LOOKING FALSE LASHES LOOK
First thing’s first – determine the look you are wanting to achieve, says National Education Manager Ocea McKenzie. A full set of lashes can really take your makeup to the next level, she explains, so if you love an elongated cat’s eye, search for lashes that are longer on the outer corners to enhance your look – try #36 Lash. For a rich, black smoky eye, consider thicker more dense lashes, like #75 Lash. For lashes that appear fluffier and more spaced out so you can see any eyeshadow on the lid, McKenzie recommends #7 Lash and #81 Lash. And as for individual lashes? “They’re a really gorgeous and natural way and can be tailored to the natural length of your own lashes,” she adds, and recommends the #33 Lash.
STEP 2: HOW TO TRIM FALSE LASHES
Everyone’s eye shape is different and more often than not, you may need to trim your set of false eyelashes so that they not only look natural but feel comfortable and fit you. “Apply the lashes to the lid and any section that overhangs past the outside of your lid, this is where you want to trim,” says McKenzie. Her pro tip? “Always trim from the outer part of the lash, not the inside, where it would sit on the inner corner of the eye.”
STEP 3: HOW TO APPLY FALSE EYELASHES
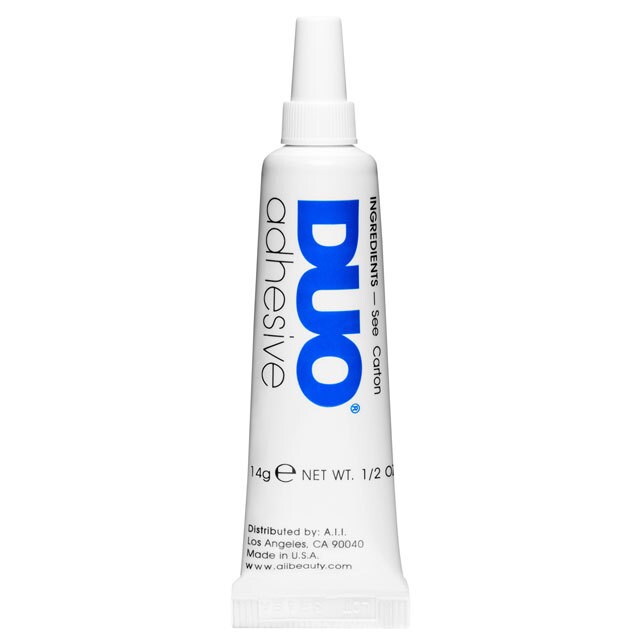
Not sure how to apply false lashes? For best results, apply the false eyelashes after you have completed your eye makeup and have a good-quality eyelash adhesive on hand; McKenzie recommends Duo Adhesive, which is a latex adhesive that is easy to both apply and remove. “Make sure you’re up nice and close to the mirror so you can see what you’re doing then begin by lightly coating your natural lashes with mascara,” explains McKenzie. “Measure the lash and trim the unwanted base width then apply a small amount of Duo Adhesive to the base of the lash. Wait for the formula to get a little tacky and start to dry before applying – this will help it to stick without slipping around.”
STEP 4: HOW TO REMOVE FALSE LASHES TO REUSE
Can you reuse your false lashes? Yes. One of the many perks of M·A·C Eyelashes is that they are reusable, so make sure you reuse the case and treat your lashes with care. The removal of your lashes is just as important as the application process. If you’re not sure how to remove false lashes “gently peel off your lash from the outside to inside and lay them back on the curve of their case to keep the shape and re-use,” says McKenzie. “I don’t recommend applying mascara to your false lashes as this will minimise the usage – always apply mascara to your natural lashes first.”
LEAVE IT TO THE EXPERTS: If you’re still not feeling confident, you can book in for a lash application in-store at M·A·C. The Lash Fitting service is FREE with any purchase of M·A·C eyelashes, takes just 15 minutes, designed to compliment any makeup look.

